Practice
Filming Yourself to Improve in Heels: The Feedback a Mirror Can't Give You
9 August 2026 · 6 min · HEELS SCHOOL, by Alisa Akulieva
The mirror is an excellent teacher, but it has one flaw: it only sees you from the front, and only when you're looking at it. The moment you turn, the moment you drop, the moment you close your eyes to feel the music, it's useless. The camera keeps working.
Filming yourself dancing in heels isn't about making content. It's about giving yourself a second pair of eyes — cold, patient, and honest about the foot that slipped or the count you swallowed.
Where to put the phone
Height first. Set the camera at roughly hip height, or a little below. Too high and it crushes your legs, so you see nothing of how you're standing. Too low and it stretches everything artificially, and you'll believe in a line you don't actually have.
Distance next. Step back until your whole body fits with room above your head and, above all, at floor level: your feet need to stay in frame even when you travel. If you're working a walk, go wide and let the full crossing fit inside — even if it means seeing yourself small.
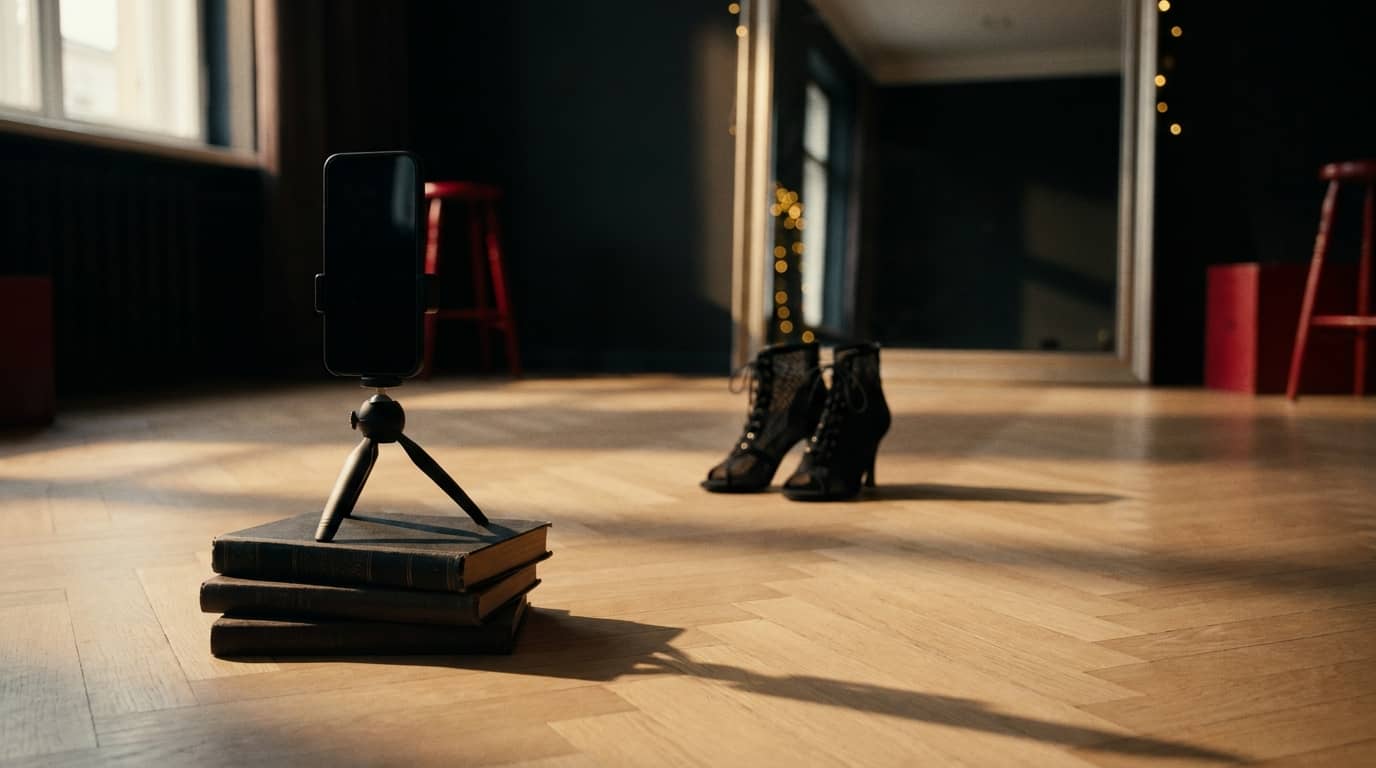
For support, use a stack of books, a wall, the sofa, or a cheap tripod. Make sure the phone can't fall: a phone sliding across the floor while you're moving in heels is an unplanned obstacle.
Two angles are worth alternating. The front view, for your torso, your gaze, your arm-leg coordination. The back or three-quarter-back view, for what you'll never see otherwise: pelvis alignment, glute engagement, and how your heel actually lands behind you.
Light and floor: two details that change what you can read
Put the light in front of you, not behind. Backlit, you become a silhouette: pretty on Instagram, useless for analysis. A living room lamp set off to one side is plenty.
Remember to keep the floor in frame. A lot happens at ankle level, and if your feet leave the frame on every phrase, you lose the essentials. When you're specifically working foot placement, don't hesitate to crop in tight: knee to toes, nothing else. Less flattering, far more informative.
Film one thing at a time
The classic mistake is filming thirty seconds of choreography and concluding "that's not it." Too much information at once, no decision possible.
Pick one goal per take. Today, heel placement. Tomorrow, keeping your gaze up. The day after, weight travelling from one leg to the other without a jolt. Film eight to sixteen counts, no more, and watch with that single point in mind.
Also keep one full take from time to time, with no instruction, just to see where you're at. That's your reference point across several weeks.
What to actually look for
First pass: watch yourself normally, once, without judging. Let the wave of discomfort pass — it always comes, and it always goes.
Second pass, sound off. Without music, you see the movement stripped bare: does the weight really arrive on the leg, or are you stuck between the two? Does your ankle stay aligned with your knee, or does it roll outward as you land? Do your shoulders rise when you're hunting for balance?
Third pass, slow motion. This is where everything shows. You see the micro-hesitation before the transfer, the heel touching down after the ball of the foot instead of before, the knee staying locked instead of melting.
Fourth pass, with sound, watching timing only. Are you landing on the beat, or just after it? In heels, we're often late because we negotiate our balance before we move. The video shows it without mercy.
The judgement trap
The first time, you'll hate it. You'll see a body, a posture, a texture that doesn't match the image you had in your head. That's normal, and it has nothing to do with your progress.
One simple rule: after every viewing, name one thing that works and one thing to adjust. One of each, no more. If all you can come up with is criticism, close the video and come back later.
And keep your files. Pull up a take from two months ago: it's the only place progress becomes visible, because day to day it isn't.
Staying safe
Warm up before you film, always. The urge to get one "clean" take pushes you to run the same passage ten times in a row, and that's how you overload a tired ankle. Decide on a number of takes and stick to it.
If pain shows up — ankle, knee, lower back, forefoot — you stop. Not one more take. Discomfort that lingers or comes back every session deserves the opinion of a healthcare professional; the video will help you describe what's happening, but it doesn't replace an examination.
What comes next
Filming yourself complements the mirror, it doesn't replace it. The mirror corrects in the moment, the camera corrects between sessions. Together, you move forward much faster than repeating blind.
If you want a clean point of comparison, three HEELS SCHOOL classes are open without creating an account: "Welcome," "Choosing Your Heels" and "Full Warm-Up." The video player is built for exactly this kind of work — mirror mode, slow motion, front and back views — so you can put your take next to the demonstration and compare frame by frame. It's the same thing we're asking you to do with your own footage, with a reliable reference in front of you.
Want to try, right now?
Three classes are free, no account needed — including “Choosing your heels” and the full warm-up.
See the free classesLeave with the 30-day training plan.
Thirty days, session by session, as a PDF — free, instant download.