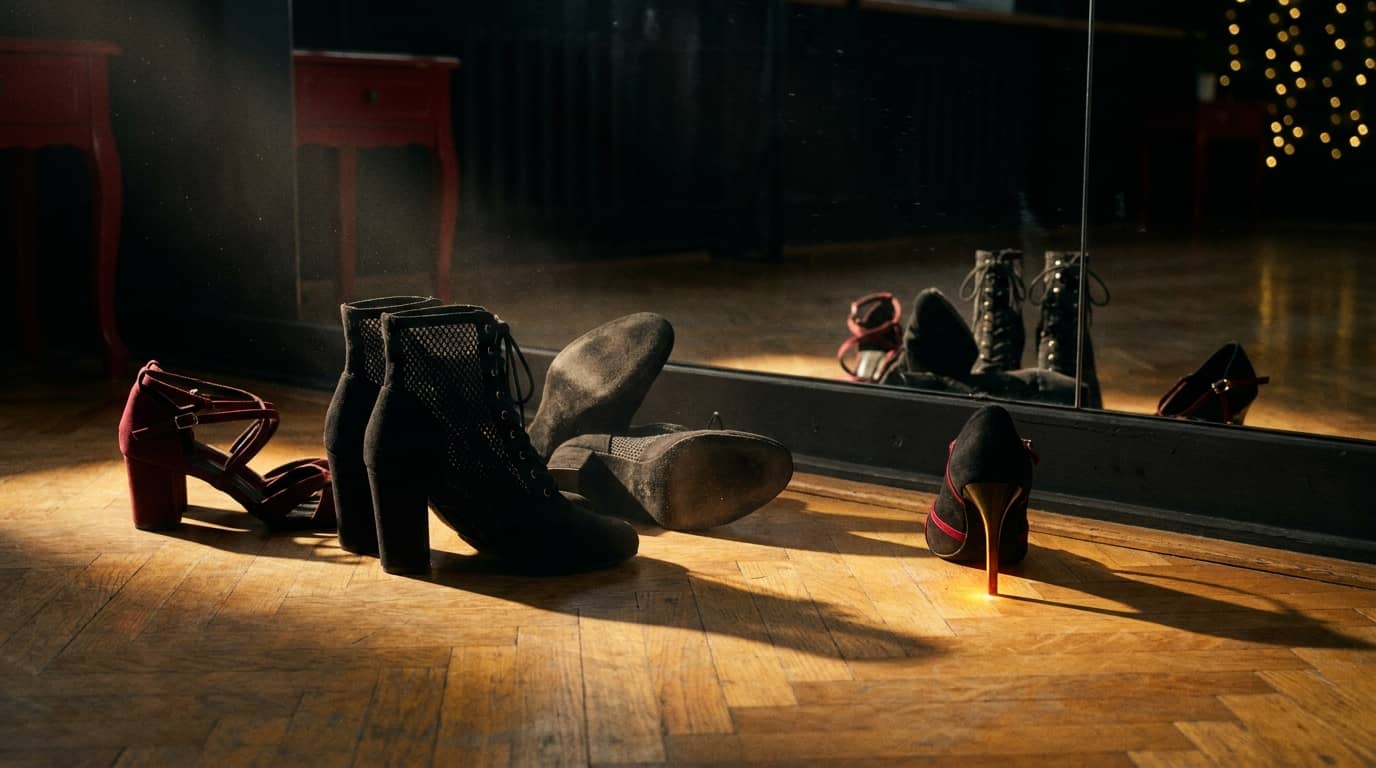
Shoes
Lace-Up Boots or Pumps: Which Shoes to Start Heels In
13 July 2026 · 6 min · HEELS SCHOOL, by Alisa Akulieva
Before we talk choreography, we need to talk shoes. In heels, the shoe isn't an accessory — it's your point of contact with the floor, your working tool. Pick the wrong pair and you'll spend the whole class hunting for your balance instead of listening to the music.
The good news: there's no magic pair, but there are a few simple markers. Here are mine.
Lace-up boots or pumps: what actually changes
The difference comes down to one word: support.
A lace-up boot, or a strappy sandal that comes up over the ankle, wraps the joint. When you drop into a lunge, when you roll through your foot, when you turn, the ankle is held laterally. You feel less exposed. For a lot of beginners, that's what lets you get out of your head and start dancing instead of managing.
A pump leaves the ankle free. It's more demanding: nothing catches you if the foot rolls to the side. In exchange, the leg line is longer and cleaner, and the foot works harder. It's a beautiful shoe, but I'd save it for a second stage, once your foundations are in place.
Somewhere in between, you'll find styles with an ankle strap. That's an honest compromise: a bit of support, an uncluttered line. Plenty of dancers stay there for a long time, and that's absolutely fine.
My advice for a first purchase: lace-up boot or high-cut sandal. You gain a sense of security, and that security shows up in the movement.
Heel height: 7 to 8 cm, no apologies
People picture heels class with sky-high stilettos. In the studio, that's not where the work happens.
A 7 to 8 cm heel is plenty to feel the pelvis tilt, the weight shifting onto the ball of the foot, the leg line lengthening. You get every sensation of working in heels, with a more forgiving margin for error.
Go higher and the ankle angle closes up, the forefoot takes more load, and the smallest hesitation costs you more. Nothing stops you from going taller later, once the mechanics are there. But start low. Nobody hands out points for beginning at 12 cm.
Block heel, flared heel or stiletto
The shape of the heel changes how much surface meets the floor — and therefore your stability.
The **block heel** (thick, squared off) gives you the widest base. It's the most forgiving. Ideal for the first few months, for working weight transfers without fear.
The **flared heel** — narrower at the top, widening towards the floor — is an excellent middle ground. It has the visual elegance of a slim heel with a decent footprint on the ground.
The **stiletto** demands precise control. It forgives very little: if your weight is misplaced, you'll know immediately. That's exactly what makes it a great teacher — just not yet.
One detail people often overlook: look at where the heel is set. If it sits directly under your heel bone, you're aligned. If it's set back, you'll spend the whole time compensating.
Suede or rubber sole: it depends on the floor
This is the question everyone forgets, and it's decisive.
A **suede sole** slides in a controlled way. On a studio wood floor or dance vinyl, it's what lets you pivot, do a body roll on the floor, drag your foot without it catching. Suede wears down, needs brushing, and gets dirty — you don't wear it outside.
A **rubber sole** grips. On a smooth, very slippery surface, or on polished concrete, it's safer. But on a floor that already grips, a rubber sole can lock your foot mid-rotation. That's where knees and ankles start complaining.
Find out what floor you'll be working on. If you practise at home, test it: a few steps, the start of a pivot. You'll know straight away whether it slides too much or not enough. A dance mat or a piece of vinyl flooring makes a big difference.
Trying them on: what to check
Try them at the end of the day, when your foot is slightly swollen. Stand up, take a few steps, rise onto the ball of the foot, come back down.
Check that your toes aren't squeezed sideways — that's the number one source of pain. Check that your heel doesn't lift out with every step. Check that the strap or lacing holds without digging in.
If the style has a small platform at the front (0.5 to 1.5 cm), it reduces the real angle of the foot. A 9 cm boot with a 2 cm platform works like a 7 cm. It's a good trick for gaining visual height without adding strain.
Look after your feet
Always warm up your ankles and feet before getting into heels: ankle circles, rises onto the ball of the foot, toe mobility. Five minutes is enough to prepare the joint.
If pain shows up — sharp, localised, or lingering after the session — stop. The feeling of muscles working has nothing to do with joint pain. If you have an injury, a history of sprains, or any doubt, talk to a health professional before going back to it.
And save your heels for dancing. Socks or bare feet do the job perfectly well for warming up and learning a combination.
Going further
If you want to see exactly what a good pair looks like, how to lace it, how to test the sole, the "Choosing your heels" class is free to watch on HEELS SCHOOL, no account needed. It sits alongside two other open classes: "Welcome," to understand the approach, and "Full warm-up," to do before every session.
The video player was built for learning on your own: mirror mode so you can follow without reversing, slow motion to break down a weight shift, front and back views to check what your reflection won't show you. You can watch, try, rewind. That's how the foundations get built.
Want to try, right now?
Three classes are free, no account needed — including “Choosing your heels” and the full warm-up.
See the free classesLeave with the 30-day training plan.
Thirty days, session by session, as a PDF — free, instant download.